If you have been following the photography part of this blog for a while, you will have noticed that I do not talk about equipment, let alone brands, because I think what matters most are the principles of photography and, ultimately, the photographer who is behind the camera. A photographer may have the best gear in the world, but if he/she does not master the technique to make the best of it or lacks creativity or artistic sensitivity, then the resulting photographs will be either technically inadequate or incapable of expressing an artistic message.
However, a dear reader who knows I have (and love) a Nikon D800 and who has recently bought one herself asked whether I would post some advice as to how to effectively set it up, so here I am talking about equipment! 😉

In my view, the D800 is a wonderfully capable and powerful camera, that offers the photographer a myriad of options for customizing it just the way that specific photographer needs to suit his/her photography style. In this post I will focus on pointing out some of those that *FOR ME* are the most useful options that I take advantage of to make my D800 work the way I want based on how I shoot. Of course, other photographers may have different needs, so what follows may work for me but not for you – your mileage may vary 🙂
(A) Shooting Menu: These are the main options for which I have changed the defaults:
1. Primary Slot Selection: I changed it so the primary memory card to which images get saved on my D800 is the CF card, while the SD card only kicks in when the CF card is full (“overflow” option). This is because the latest CF cards are still faster than SD cards and trust me, with the unbelievable amount of data that the D800 moves to a memory card, you do need a fast UDMA 7 card if you do not want to fill the buffer too soon!
2. Image Quality: As you may have guessed already if you read my previous post about why one should consider shooting RAW instead of Jpeg, I set this to RAW. 😉
3. Jpeg Compression: For those rare instances when I shoot Jpeg, I set this option to “Optimal Quality.”
4. NEF (RAW) Recording: I set the compression option of NEF files to “Lossless Compressed” and bit depth to “14 bit”.
5. Color Space: I changed this to Adobe RGB as it provides a broader gamut than sRGB, which is a color space that is best assigned to an image at the time it is ready to be published on the Web. Bear in mind that the “color space” setting only affects images taken by the D800 as Jpegs, while it does not have an effect on NEF/RAW images for which the photographer can decide which color space to assign to them at the time of processing.
6. Auto ISO: Auto ISO is a feature that may come in handy on certain occasions, such as when shooting sports indoors (when light levels are generally dim) or wildlife on the move at the fringes of the day. The one setting of Auto ISO that I changed upfront is “Maximum Sensitivity”: this basically allows the photographer to instruct the D800 not to go higher than a certain ISO setting when Auto ISO is turned on. This is useful as it lets you set the highest ISO setting that you feel comfortable will return images with noise levels that are acceptable for their intended use. Personally, I set the limit on my D800 to 3200 ISO.
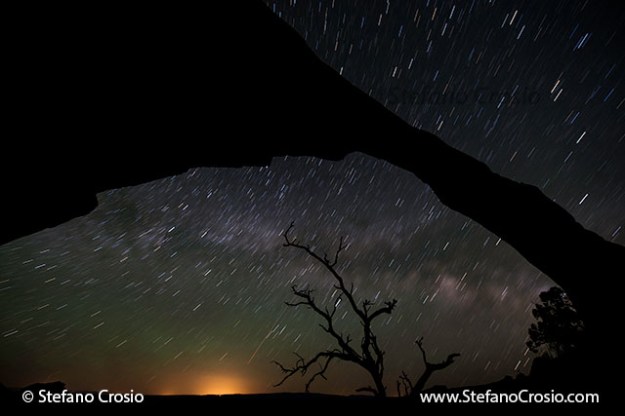
 Windows Arch at twilight")
(B) Custom Settings Menu: The D800 has 54 custom settings that let you customize it just the way you want: use them! Below is a list of the custom settings that are the most useful to me:
a4 – AF activation: I prefer that my camera AF only activates when I want it to, so I changed a4 to make sure that the shutter release only takes the shot when tripped, without activating the AF. To do that, I assigned AF activation to the AF-ON button only, by selecting the option “AF-ON Only”. This way I have the utmost flexibility and I can activate my camera AF only when I want to.
d6 – Viewfinder Grid Display: I set this to “ON” so grid lines will show at all times in the viewfinder: this is helpful both not to tilt horizons when you handhold and to quickly identify strong compositional points in the frame according to the rule of thirds.
f4 – Assign Fn Button: There is a host of options here, so you should choose the one you think you are going to use the most. In my D800 I assigned it to spot metering mode, by choosing the “Spot Metering” option, so whenever I want to take a spot meter reading off a subject I just press the Fn button and there we go.
f6 – Assign AE-L/AF-L Button: This is one of my favorite customizations in the D800 – I assigned the button in combination with the subcommand dial (the one in the front of the camera) to “Select Image Area”. This way, whenever I want to change the active area of the sensor and therefore the size of the end image (which is something I do fairly often) I can do so in a breeze by just pressing the AE-L/AF-L button while rotating the subcommand dial: this toggles among the four available image sizes (FX – 36×24; 1.2x – 30×20; DX – 24×16; 5:4 – 30×24).
f11 – Slot Empty Release Lock: I set this to “Lock” – why would I want to trip the shutter when there is no memory card in the camera???
f12 – Reverse Indicators: In this option I chose “Reverse” so that the exposure indicator that appears in the viewfinder and in the top screen of my D800 has the + sign on the left and the – sign on the right. This is because I mostly shoot in Manual Exposure mode and I find it easier that the exposure indicator mimics the rotation of the camera dials. So for instance, if I rotate the main dial to the left to set a slower shutter speed (therefore increasing my exposure) the mark on the exposure indicator in the viewfinder will also move to the left toward the + sign, showing that my exposure is increasing (i.e., the image is getting lighter).
 Balanced Rock at twilight")
(C) My Menu: This is a fully user customizable menu that I find incredibly helpful and I definitely suggest you set up and use. Essentially, you can add to it those of the options/custom settings of your D800 that you use the most so they can be all grouped in, and accessible from, one and the same spot as opposed to scattered across the various menus they belong to. To give you an idea, these are the options that I have assigned to mine: (i) Choose Image Area; (ii) Auto ISO; (iii) Long Exposure NR; (iv) Virtual Horizon; (v) d4-Exposure Delay Mode; (vi) Multiple Exposure Mode.
That’s all for now: I hope the above tips may be helpful to some D800 users who may have preferences/needs similar to mine.
In a future post I will discuss why I think the D800 (particularly if used in combination with the optional MB-D12 battery grip and a D4 battery) is a wonderfully flexible camera that fits many different shooting styles and subjects.
Happy shooting! 🙂
 (C)") This image that I made of a wolverine (Gulo gulo) has recently been utilized by not-for-profit organization Conservation Northwest in a video presentation that has been shown to supporters in the context of their annual fundraiser auction, “Hope for a Wild Future“.
This image that I made of a wolverine (Gulo gulo) has recently been utilized by not-for-profit organization Conservation Northwest in a video presentation that has been shown to supporters in the context of their annual fundraiser auction, “Hope for a Wild Future“.")
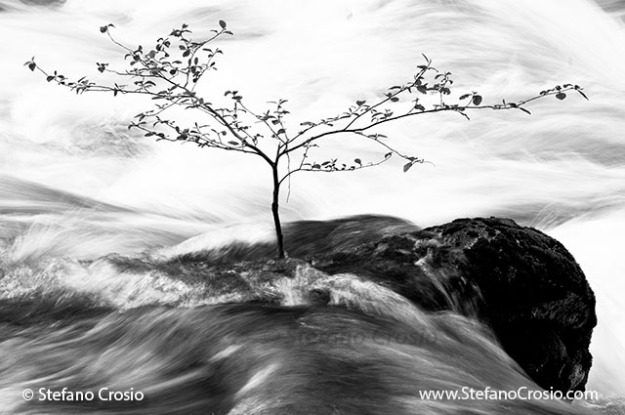
")
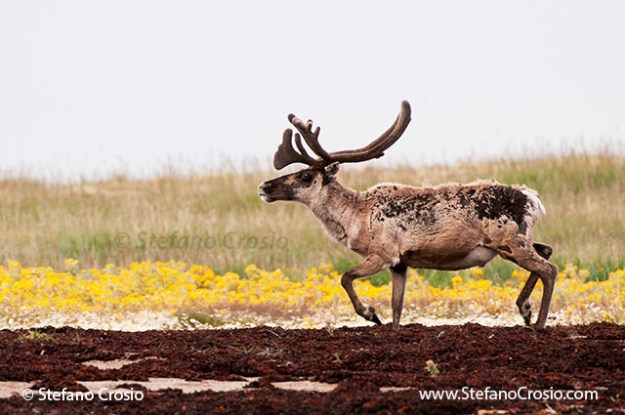
")


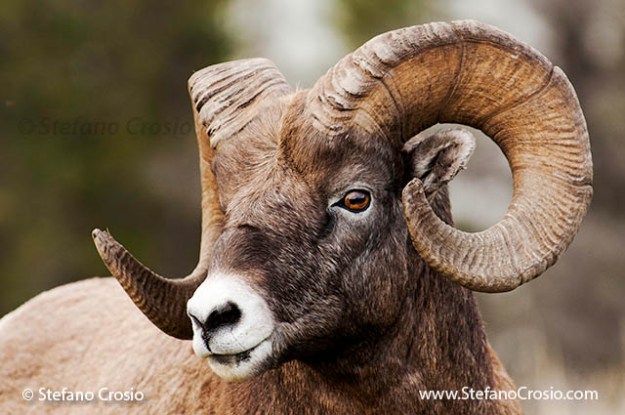
")
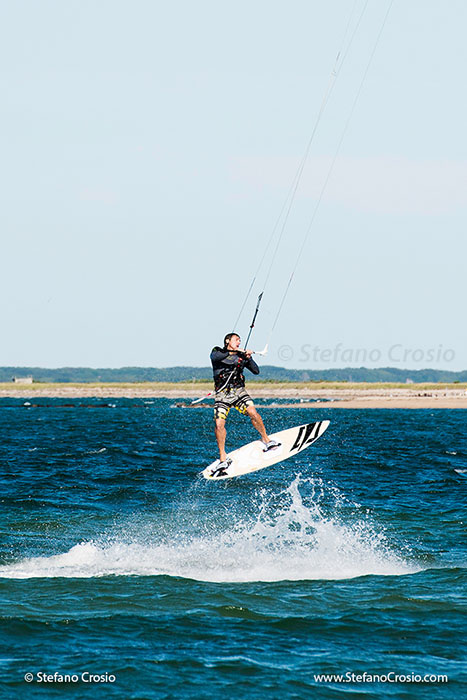
")


")


 and the vineyards of Chateau Les Grandes Murailles")
 and a pastry shop")


 and la Porte de la Cadene (Door of the Chain)")


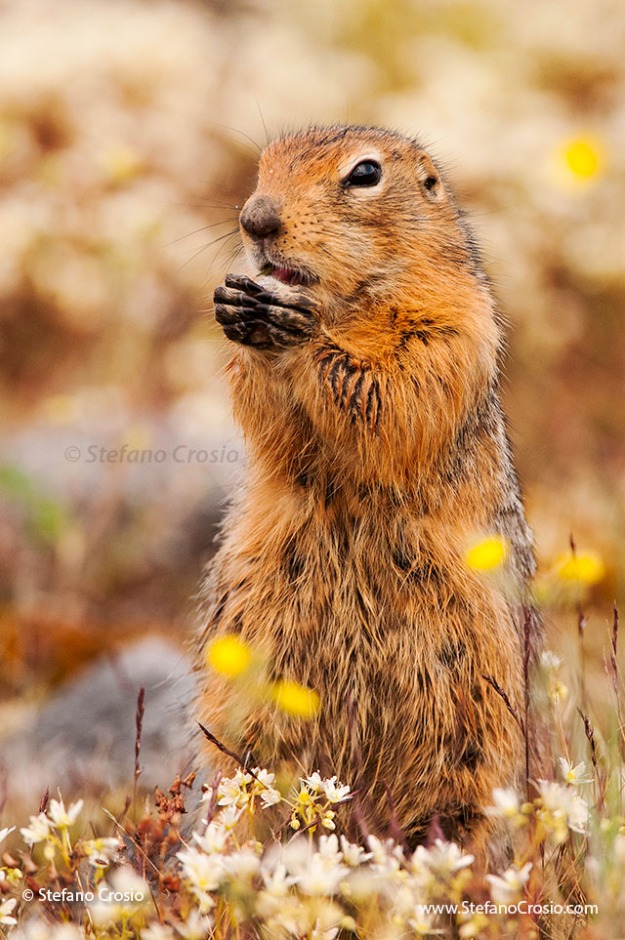
 sitting up")
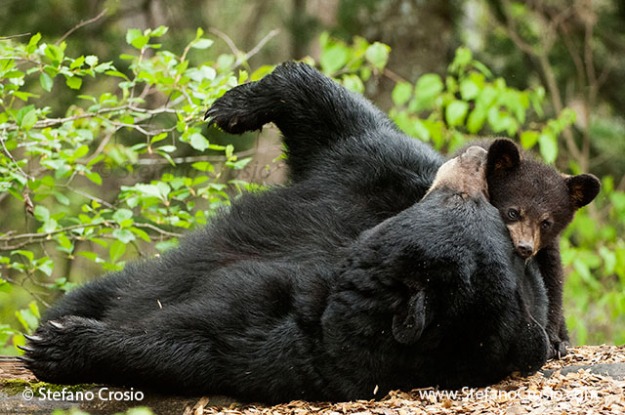
 play-fighting")
 and fireweed")


 Pictographs and Century Old Graffiti")